Sunday 26 July 2020

Sea Critters Play

This week there is a new collection at the Artful Days store & I got to have a play. The MDF shapes has been designed by the wonderful Jules Bell & they are are fab. I think that they work great for both a whimsical fun look as well as a more natural look. As soon as I saw the large tag & crab shape, it took me right back to when my 4 sons were young boys, when one of their favourite activities when at the beach was crabbing, one of my boys Steve (now 40 years old) still love crabbing & his own son is obsessed too 😆😆 Whenever they visit me, they grab a bucket, crab lines & a tin of sandwich meat & they would disappear for hours 😆😆
Anyway, back to what I made with my AD goodies, everything used on my 3 pieces can be purchased in the Artful Days online store, it is UK based but ships worldwide.


I’d like to enter my tag into the Tag Your It challenge


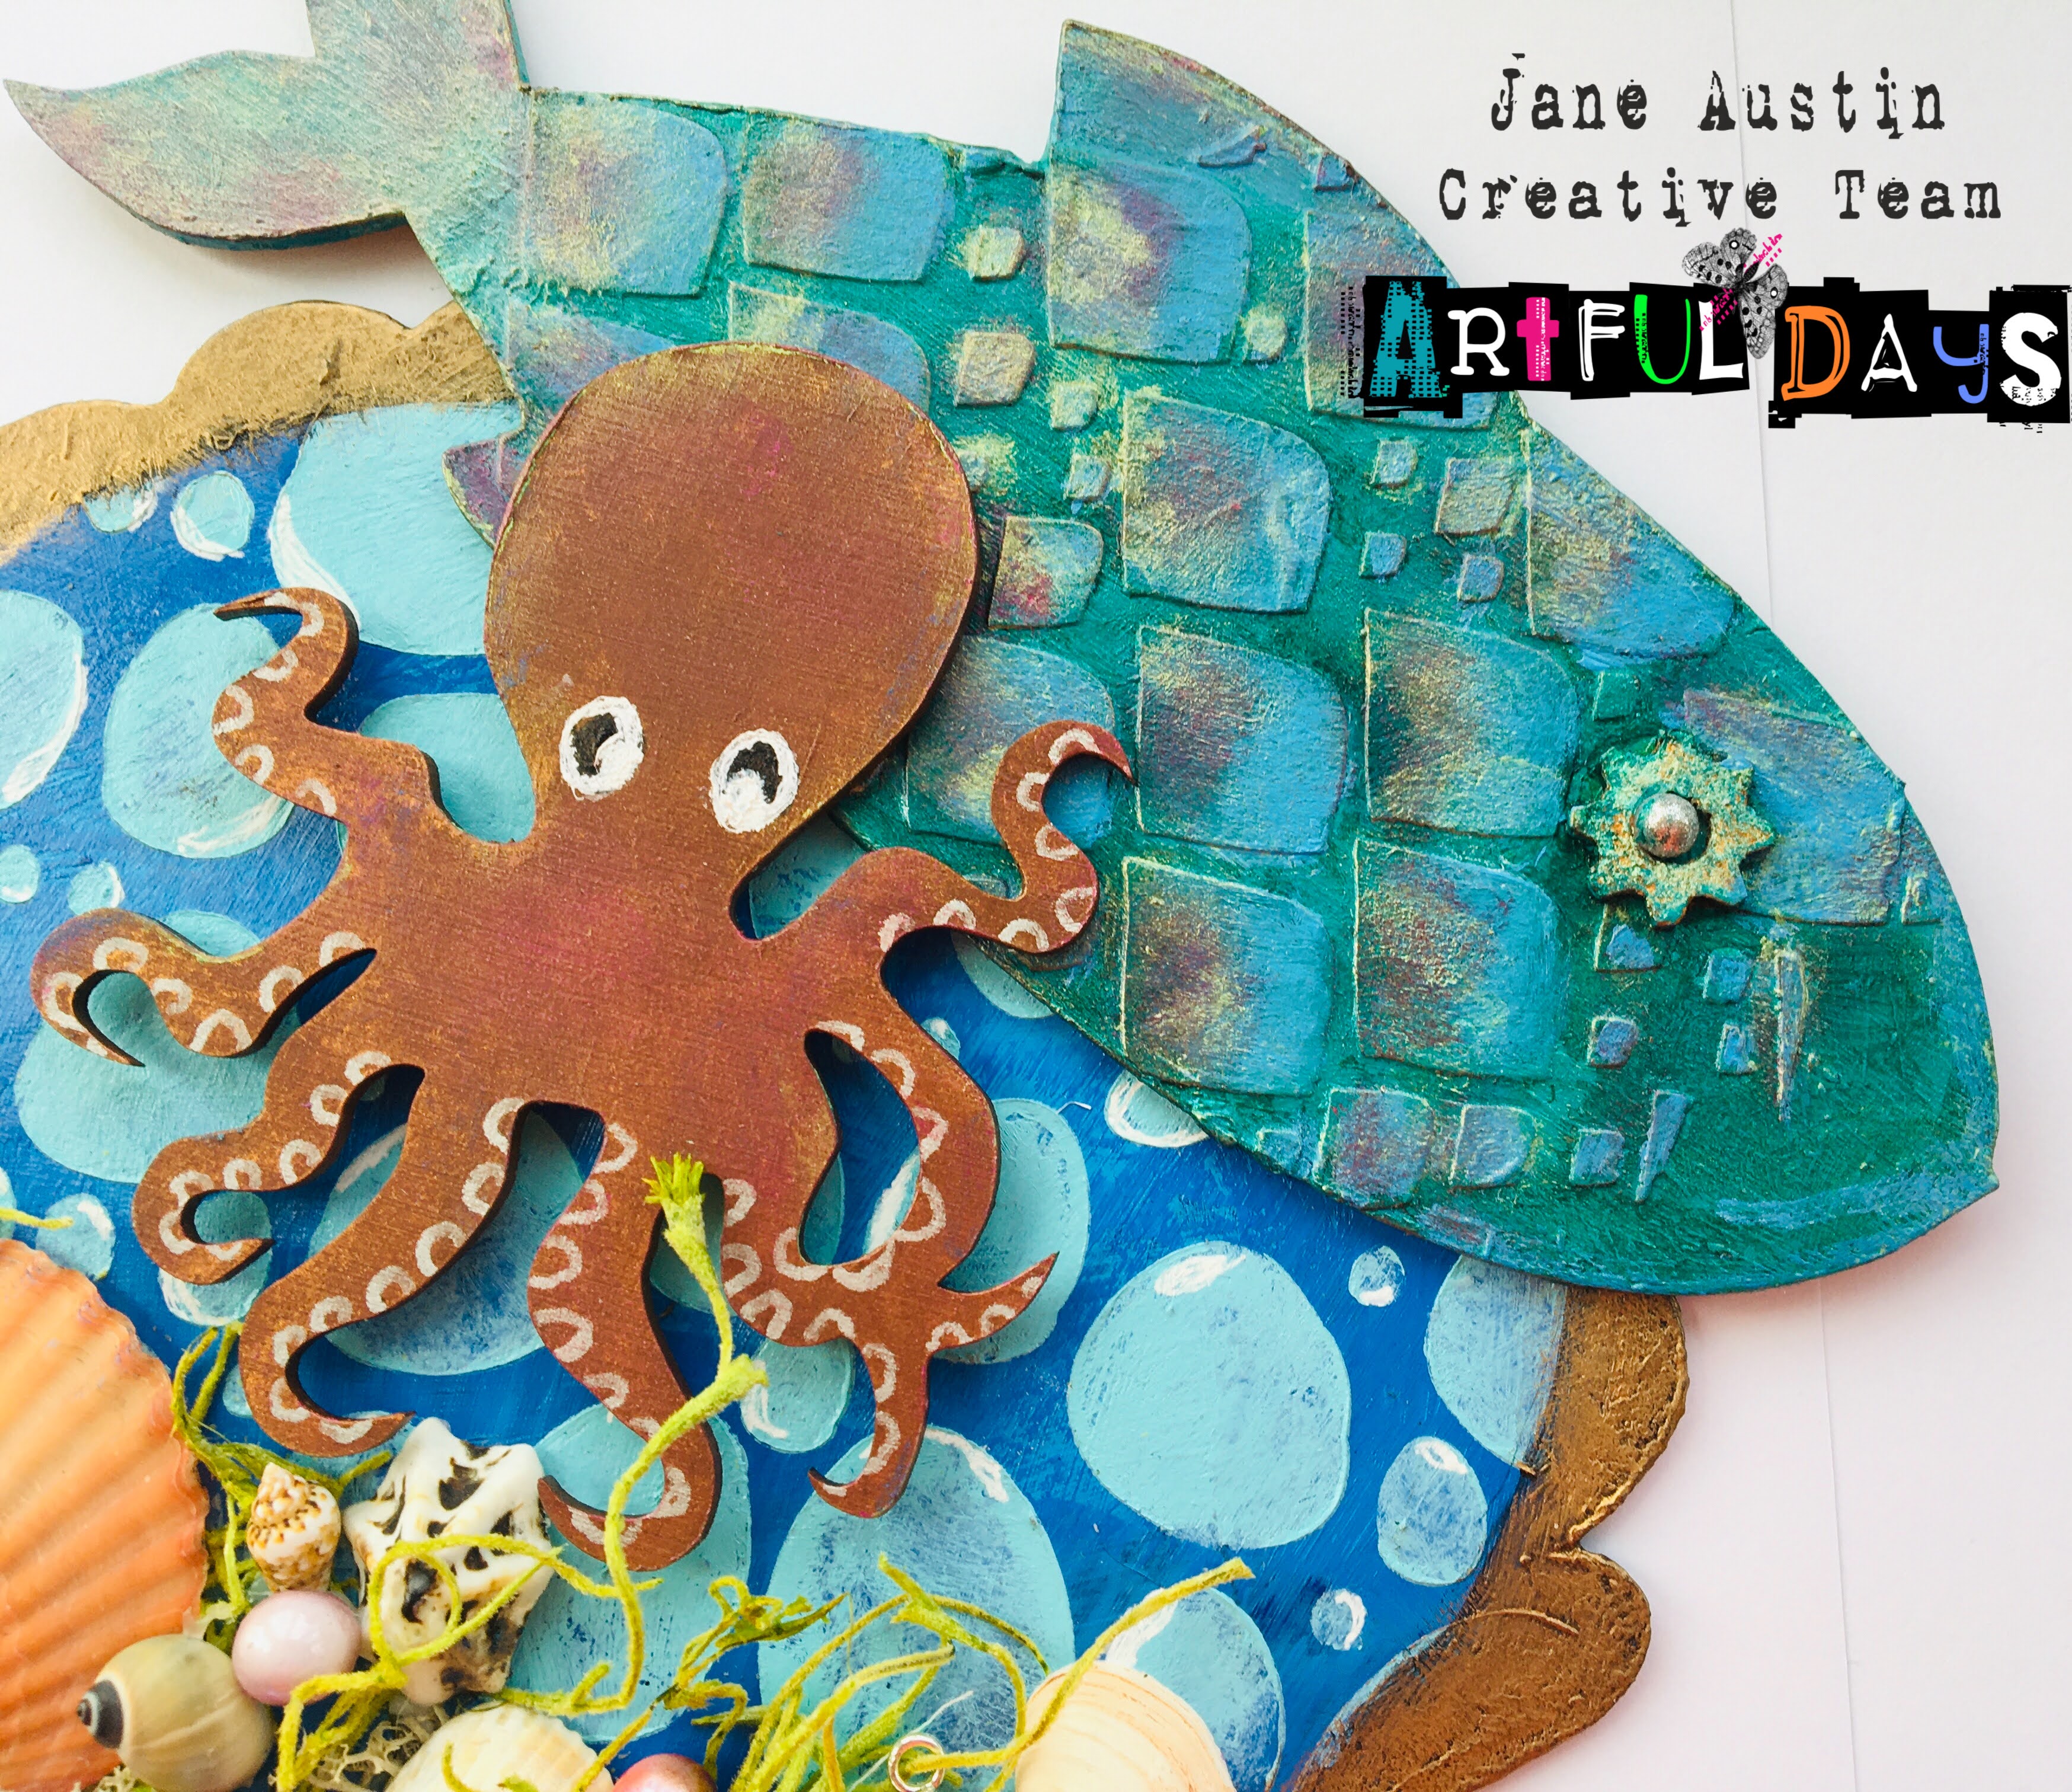
That tag is such a great size, I love it & the crab is so sweet. Artful Days has also added to the Stamperia range, by now stocking the Acrylic Paints, to go alongside the rice papers already stocked. The paints are lovely to use, really thick & creamy, yet blendable. So they are suitable for wet on wet techniques too.


The natural moss, mixed in with the synthetic moss creates a lovely sea bed.


I hope you have enjoyed seeing what I did with the MDF pieces, as much as I enjoyed creating them. 
Please leave me a comment, to let me know that you have visited me & I will return the visit.
Stay safe & happy crafting 
🌴  Jane  ðŸŒ´

Sunday 19 July 2020

Background Play

 I really had fun creating this background yesterday, I was completely absorbed in the making of it.
When I started all I knew was that I wanted to use heat embossing, no plans or prompts, just play & see where it took me.


Working in my handmade journal, I chose my stamp dabbed WOW embossing ink & pressed on to my page, I had to do this 4 times to fill the pages. Next, I placed my book on a sheet of paper & sprinkled WOW embossing powder over the entire stamped page, I used Crusty Copper then tapped the excess on to the paper & poured it back into the pot!

I then decided to just spray mist some shimmer inks until I got the effect I wanted.
Sadly, the photos don’t show the shimmer very well, but I managed to capture the blends. I always dry each spraying before changing colour.


Wednesday 15 July 2020

Purple & Gold looks so extravagant ...

It's July the 15th, which means that there is a new challenge started over on the BleedingArt blog & what a line up of inspiration the Design Team have created for you all. Please join us this month, remember it's always 'Anything Goes' so you have free reign to create whatever you like. However, we say NO to scrapbook LO's, should these be entered, they will not be considered in the judging process!

This month I decided to alter a no longer needed iPhone box, it was just the right size to turn it into a collector's box, you know, all of those little treasures you accumulate in life, but never know what to do with them. My box contains little things such as, a tiny green plastic ring that my 30 something son have me as a toddler & a tiny pebble that my grandson had given me, because he said it looked like a shoe lol ..... Sentimental treasures that mean nothing to anyone else, but they are precious to me 😊


So, I started by removing any stickers & labels from the iphone box, then I roughed up all of the shiney surfaces with a strong energy board, but it can be done with a sanding block or sandpaper also. I do this to give some grip for the products that I will be applying to transform the box.


The next step was to coat the box with gesso, allowing it to dry completely. I wanted to give the idea of texture without actually using products to produce the effect. So, I painted the lid of the box with a nice purple acrylic paint, when dry I dry brushed some good metallic paint, quite randomly, to break up the plain colour & adhered a piece of string netting! By doing this, I have myself another colour to play with,  when it came to adding embellishments & there are lots of them! 


The next step was to gather a mixture of embellishments to dress my box lid, after a happy rummage through my various wellies boxes, I chose some resins, a few cogs, a bottle cap, some cognac coloured faux gems, some gauze & some yummy metal shapes. I placed them on the lid, which always takes me a while to get the look that I want. When, I was happy with my look, I began gluing them in place, I like to use a gel medium for this, because I know that it has a very strong bond.


Some of the pieces I painted before glueing them down, because of where they would be hard to get too, when other things were placed on top. The lovely metal pieces & the string net, I left unpainted, because I like the contrast between metal & coloured.


The big element in the middle of the box, is from a larger resin that I broke in half, it's the lower half of the Zuri Phoenix. It's good to play with your available embellishments etc. to see if they can be adapted to fit your projects, because I am making a conscious effort to use what I have, instead of keep buying all of the time. I know it's the same for most crafters, but I am rapidly running out of storage space 😉 

Ok, so all of my embellishments are glued in place, once everything was completely dry, it is good to pick it up & look at it from all angles, by doing this you can see if you need a dab of paint anywhere or other little finishing touches. Sometimes, just the tiniest dab of paint can make everything work together.


I finished it off by adding the word ‘Memories’ & adding a few of those cognac coloured gems & I was finally done.


Thank you for visiting me today, please leave a comment so that I know you have been & or become a follower, I always do my best to return visits.
Many thanks
Jane 🌴